5. Controlled Vocabularies
Contents
- Using a Controlled Vocabulary
- Step By Step Guide to using a Controlled Vocabulary
- How to Export Controlled Vocabularies
- How to Import Controlled Vocabularies
5.1 Using a Controlled Vocabulary
For a video version of this section, here is a video from our Youtube playlist on the same topic.
A Controlled Vocabulary works especially well when you know the participant’s audio output encapsulates just a very small range of specific lexical items.
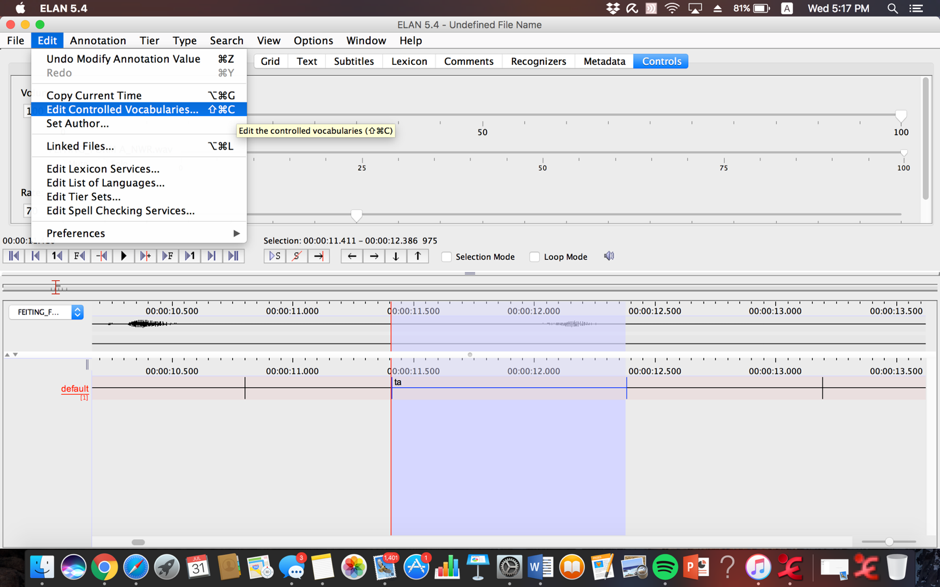
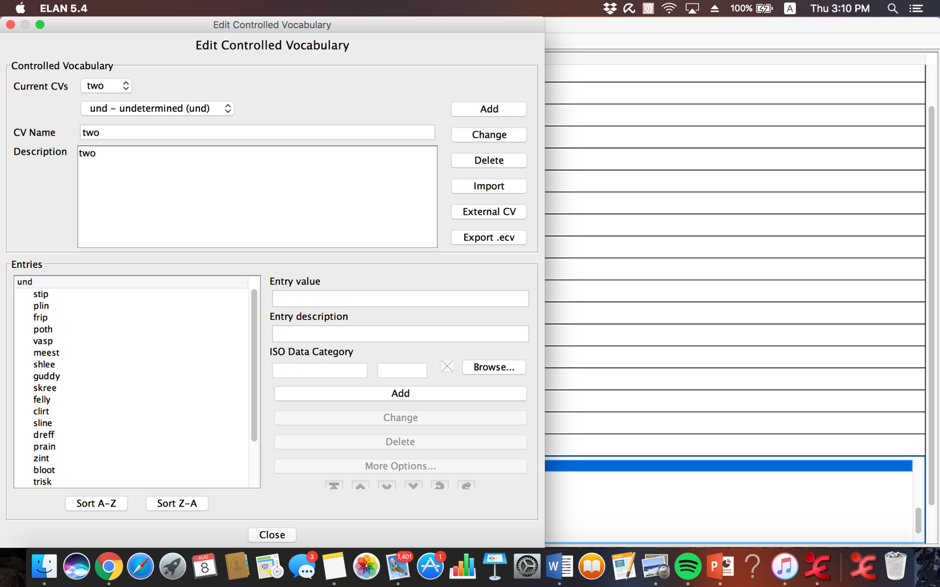
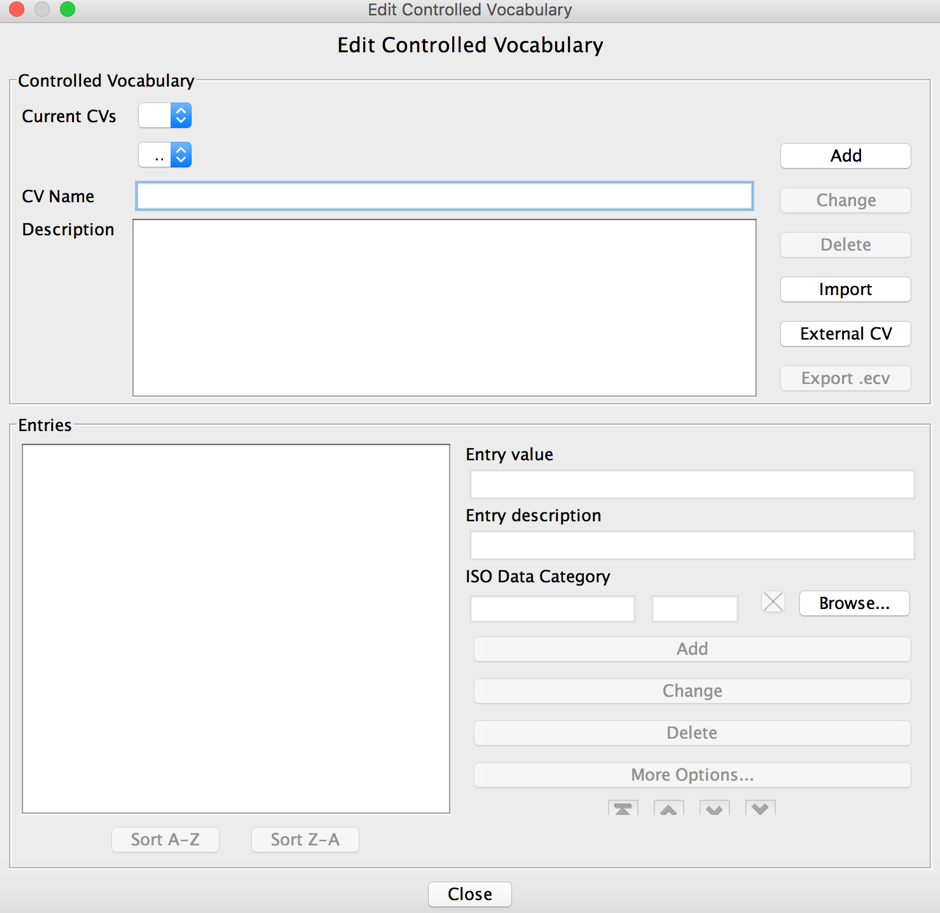
Controlled vocabularies can be accessed via the “Edit” menu in the taskbar.
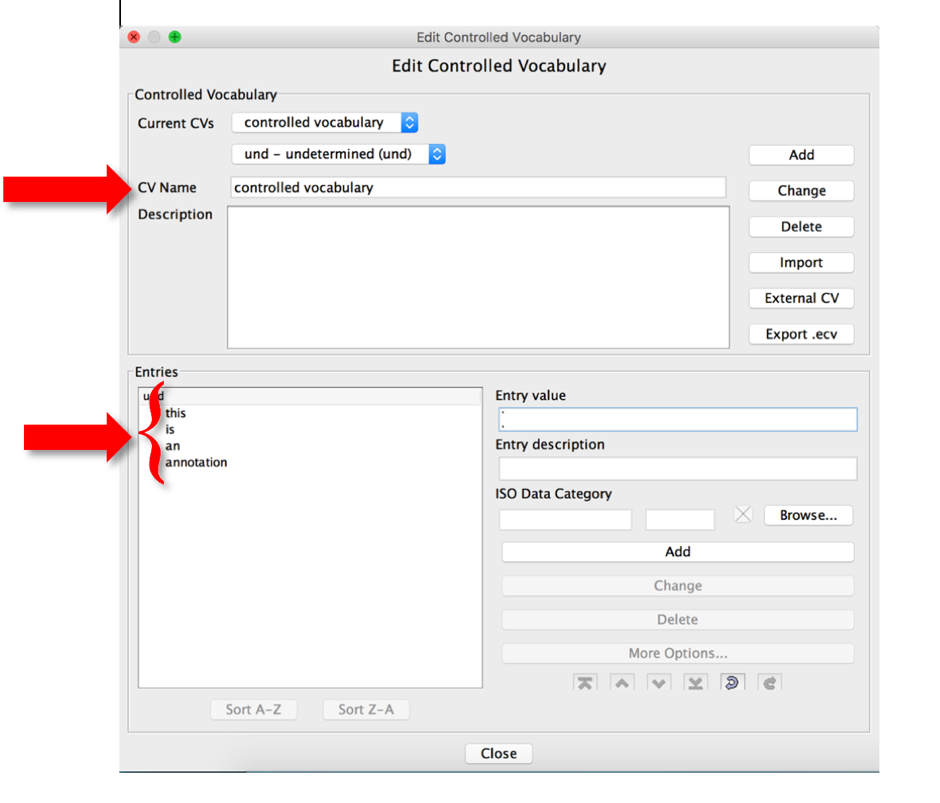
- Enter name of controlled vocabulary
- Enter description
- Press “Add” under “Controlled Vocabularies”
- Enter Entry value
- Enter description of entry
- Press “Add” under “Entries”
Back to table of contents
5.2 A Step by step guide to using a Controlled Vocabulary
In order to understand how to use a Controlled Vocabulary, you need to first understand what a Type is. A type dictates what list of controlled vocabulary is used with a tier. You can create a ‘type’ so that more than one tier can share controlled vocabulary, or create multiple types, so that different tiers can have different controlled vocabulary.
For example, say you are annotating an audio clip where a participant is recording a word list. You want to have one tier, called “Segment”, where you break down the word into individual phonemes (smallest unit of sound e.g., the word ‘cat’ has three phonemes /k/, /a/, and /t/). You also want another tier, called “Word”, for annotating the whole word. On the “Segment” tier, there are too many different consonants, vowels, and diacritics to have a controlled vocabulary so you can give it a type “S”. Type “S” is not associated with a controlled vocabulary so you can type in whatever text you want into each cell while annotating. On the “Word” tier, there are a limited number of words since the participant is reading from a word list so you can give it a type “W”. Type “W” is associated with a controlled vocabulary so you can choose the word you want to make annotation quicker.
This example will walk you through the process of assigning a tier’s type, and assigning a controlled vocabulary to its own corresponding tier type.
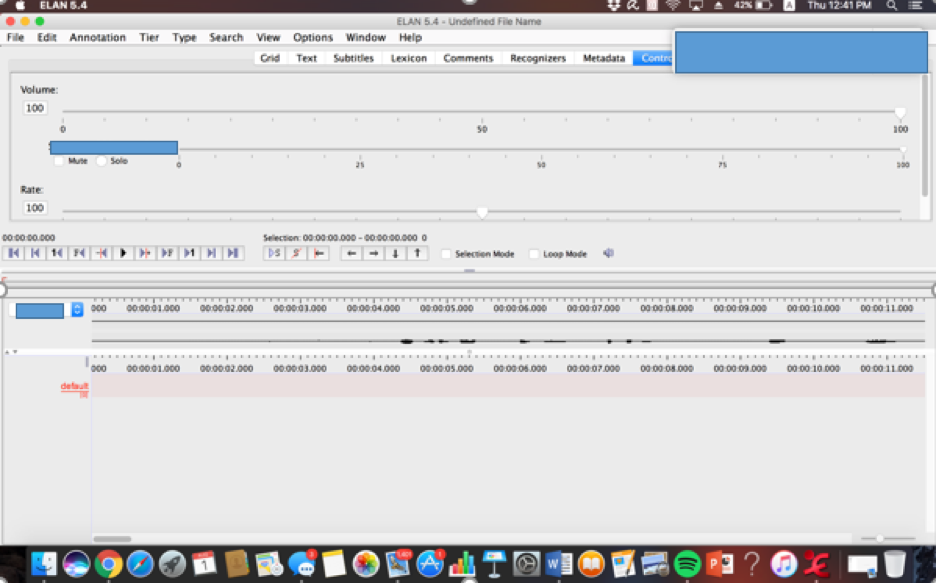
This is a new file. The default tier, as shown is named default.
Firstly we go to “Edit” -> “Edit Controlled Vocabulary” to add a Controlled Vocabulary, as such.

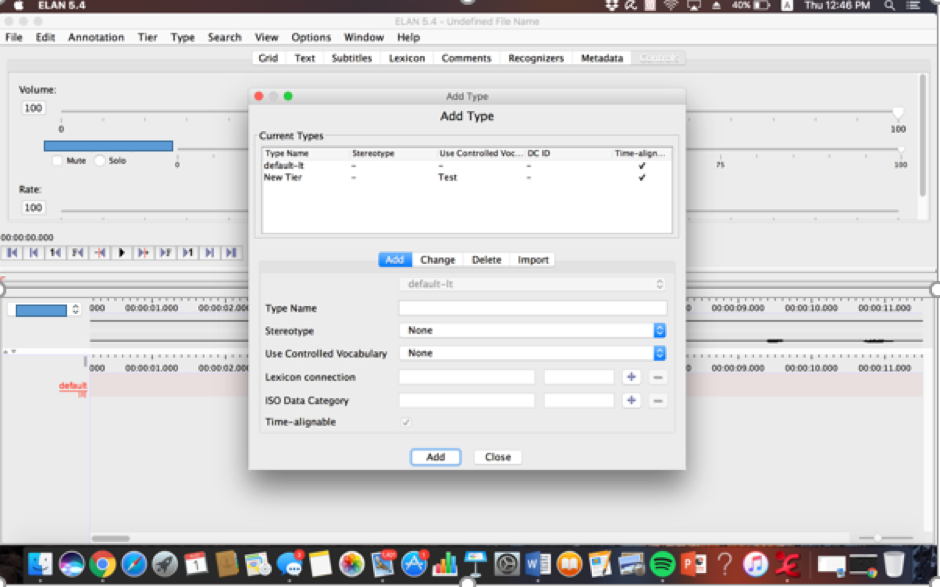
Then, you to go “Type” and “Add New Tier Type” to establish which tier corresponds with which Controlled Vocabulary, as follows.
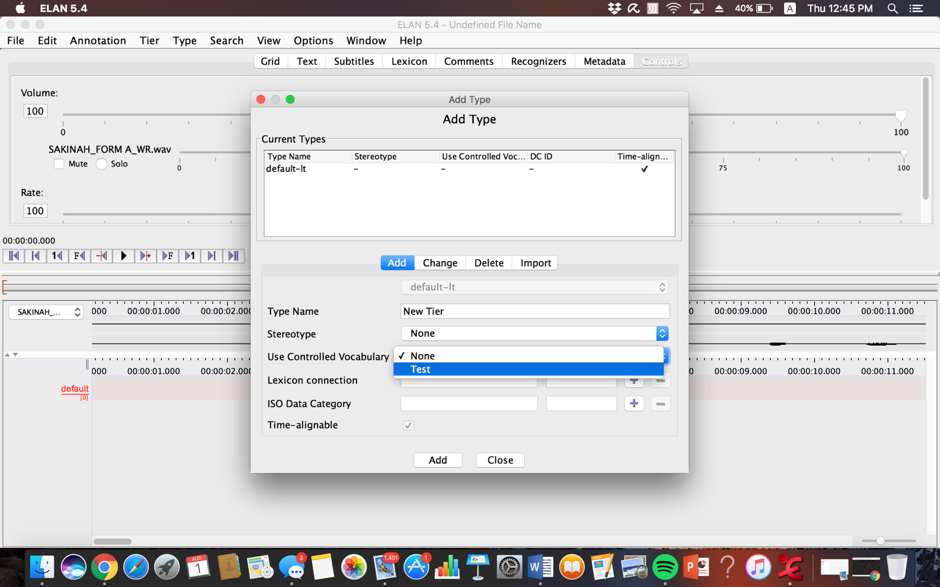
When the tier types have been set up, the screen will look like this:
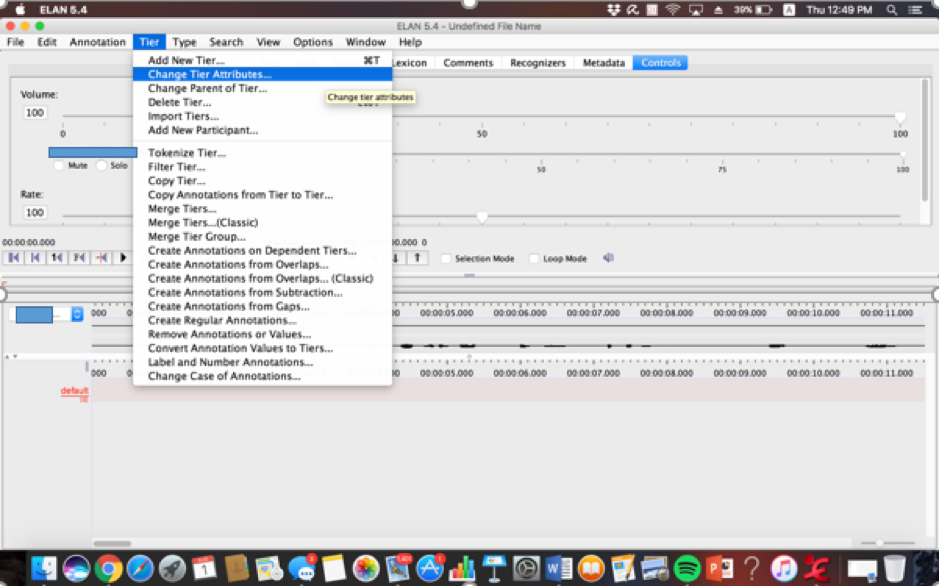
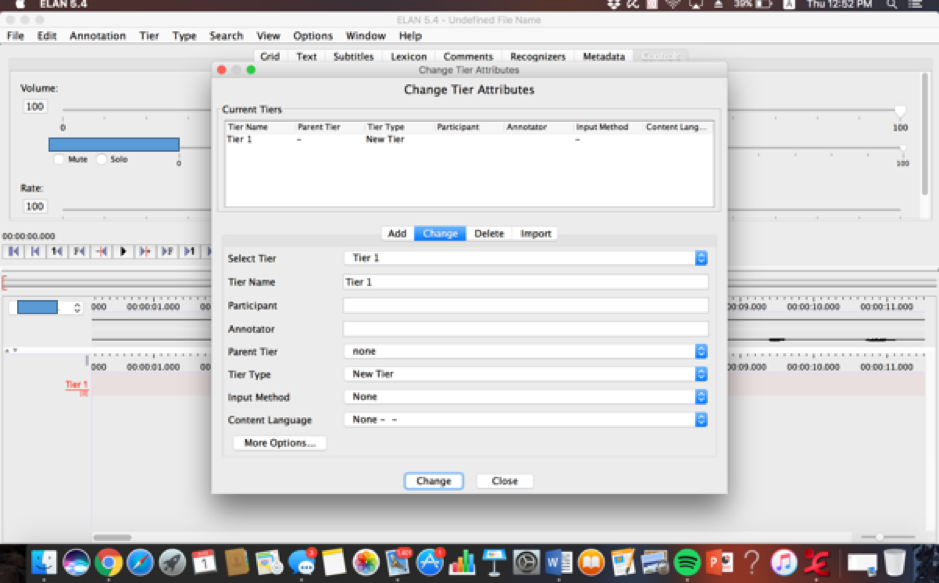
Then you go to “Tier” to Change the attributes of the existing “default” tier.
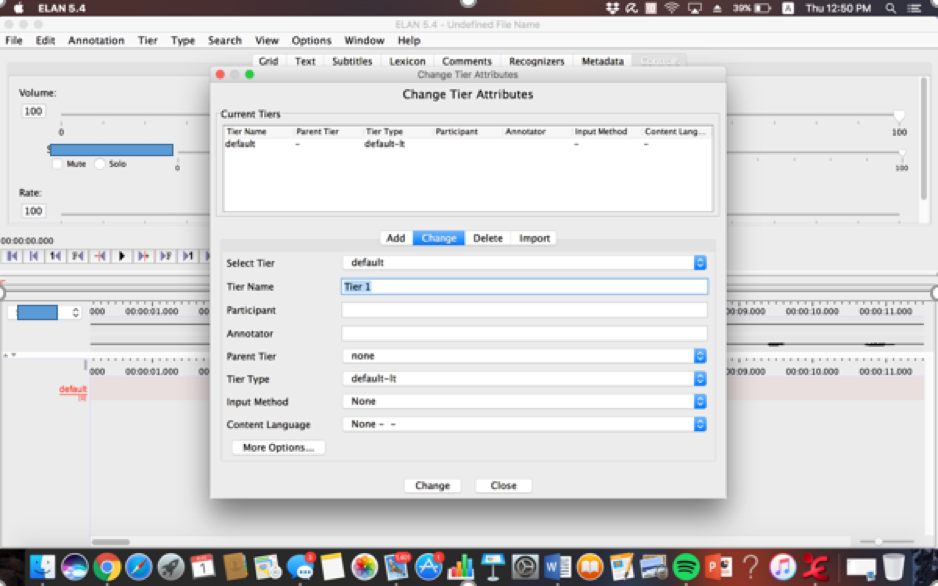
Change the name of the Tier to “Tier 1”.
Change the Type of the Tier from “default-lt” to “New Type”
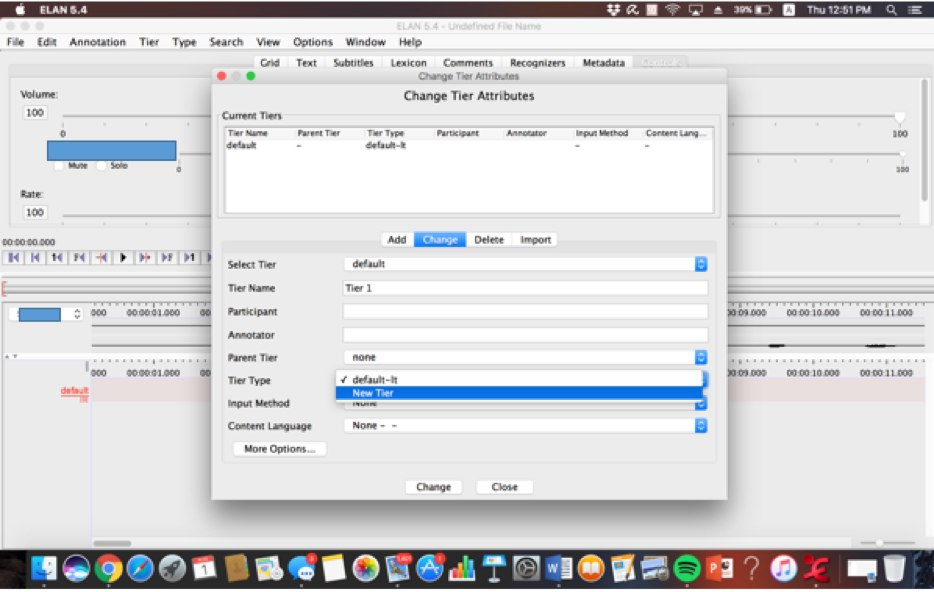
Click “Change”.
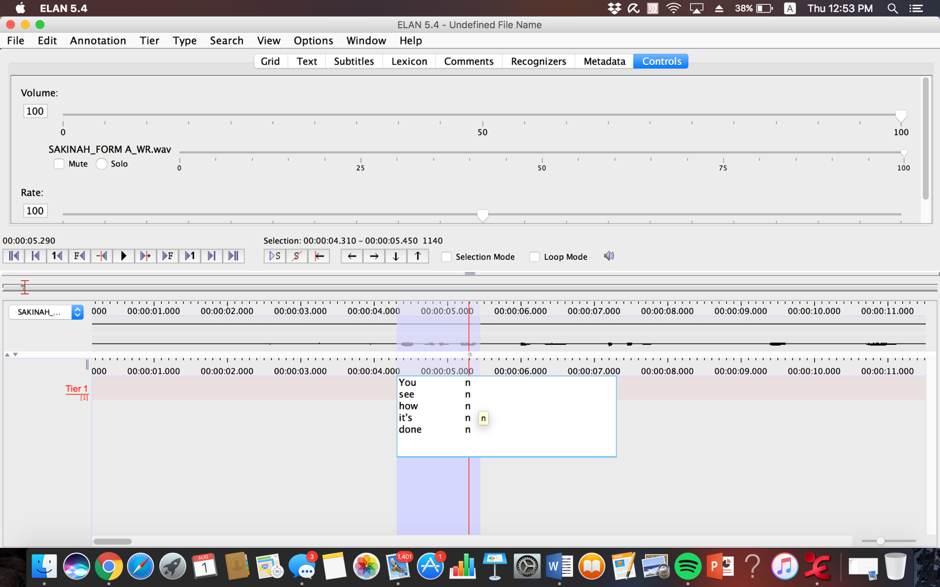
Tier 1 can now access the Controlled Vocabulary “Test”. As seen in the following example.
Back to table of contents
5.3 How to Export/Import Controlled Vocabularies
5.3.1 Exporting controlled vocabularies
For a video on how to export controlled vocabularies from our Youtube playlist, click here.
This will be helpful if you are intending to use the same set of controlled vocabularies across a few transcriptions.
Go to “Edit Controlled Vocabularies”
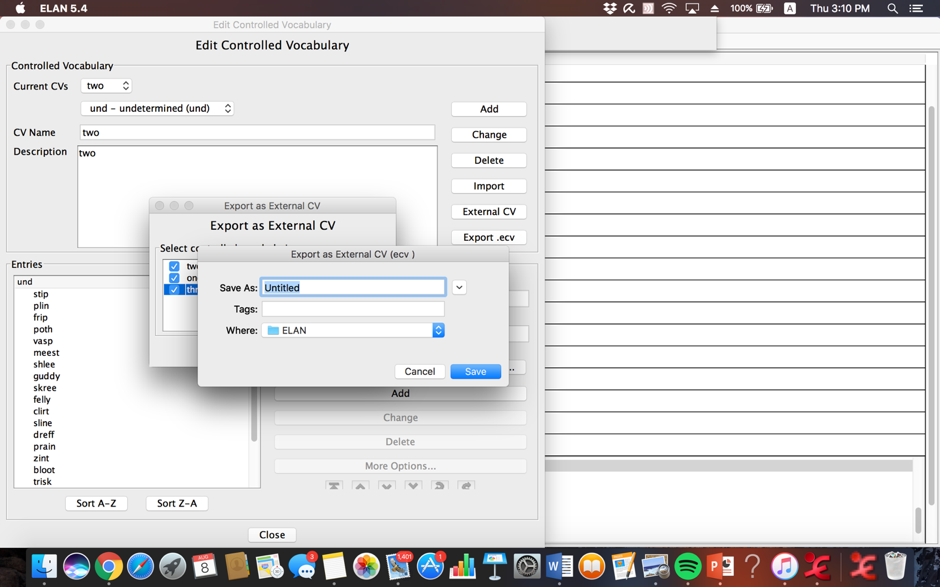
Go to “Export. ecv”
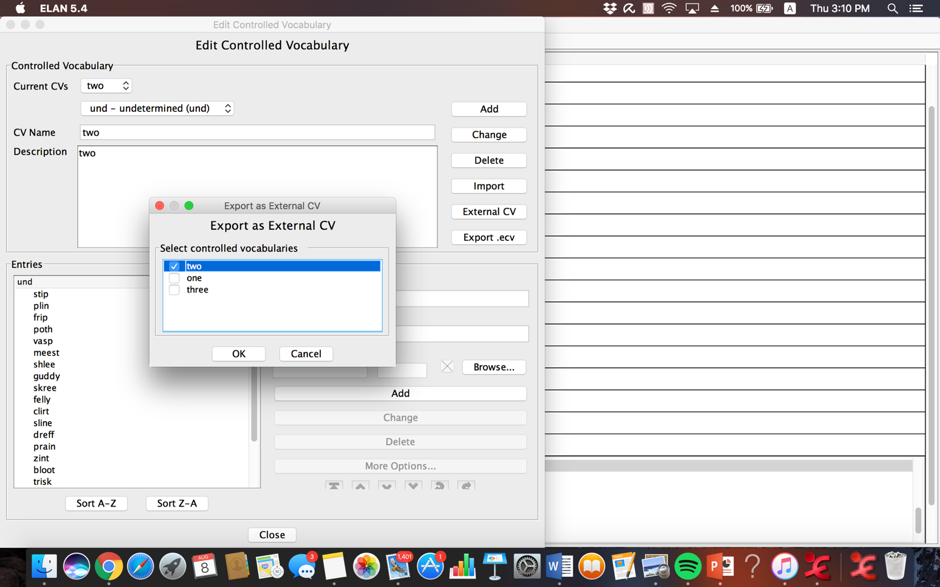
Select the file into which you want to export the controlled vocabularies.
Back to table of contents
5.3.2 Importing controlled vocabularies
For a video on how to import controlled vocabularies from our Youtube playlist, click here
To import the controlled vocabulary, just follow the following steps:
Click on “External CV”. The following window should show up:
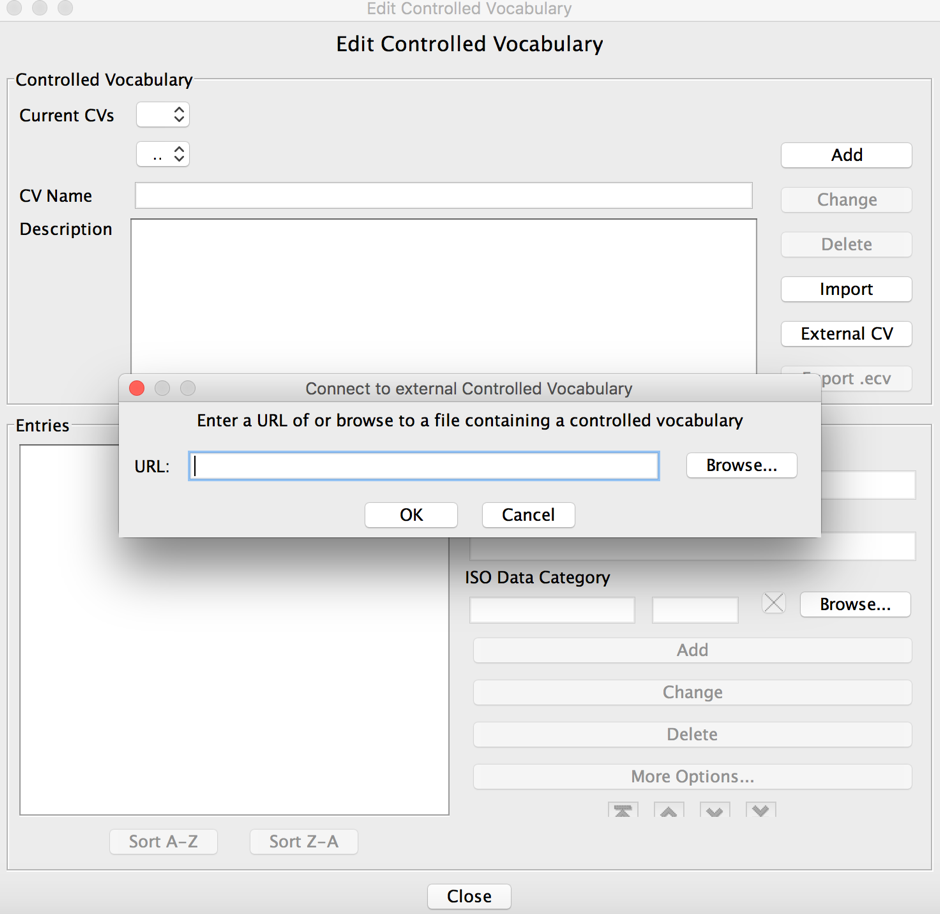
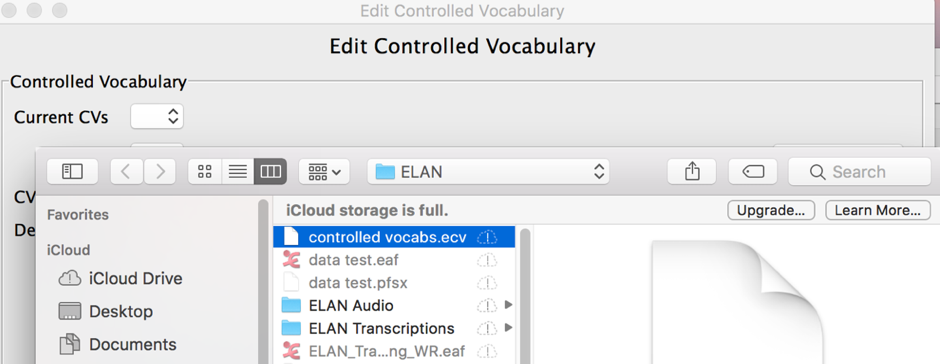
Select the appropriate .ecv file (.ecv is the file extension for controlled vocabularies).
Back to table of contents